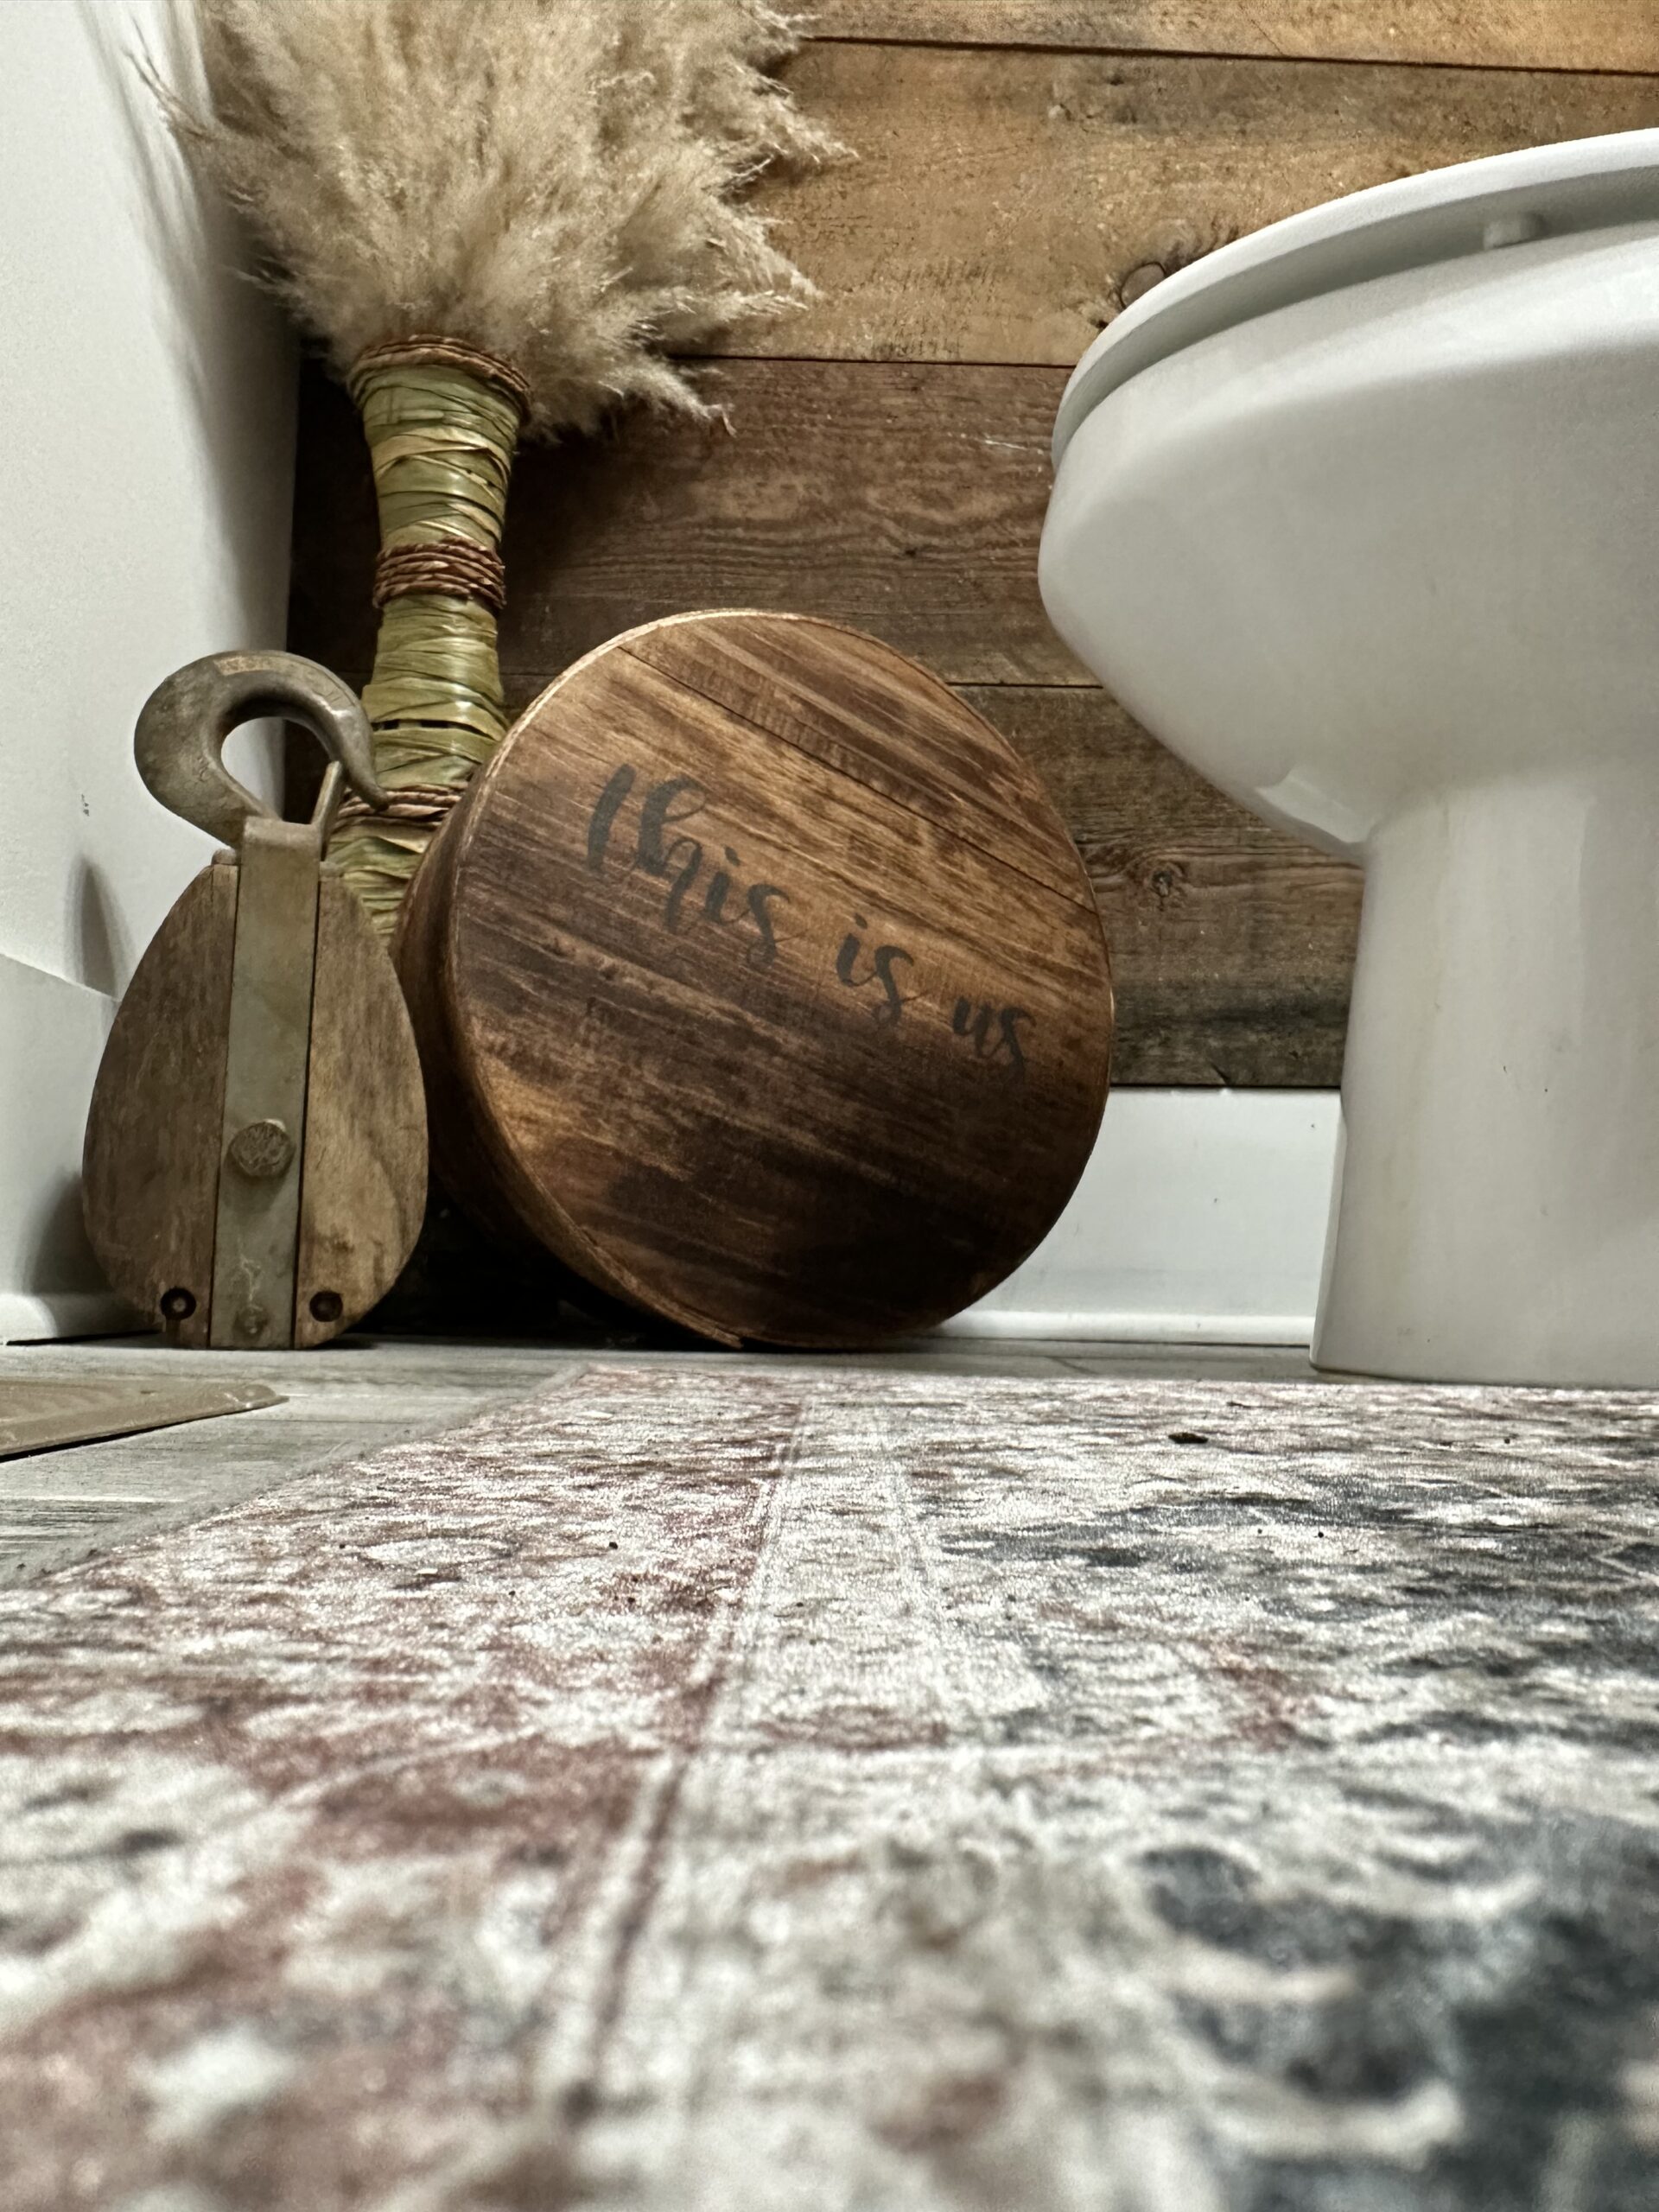
After downsizing last year from a 5 bedroom, 4 1/2 bath home, into a 3 bedroom, 2 1/2 bath, 1920’s renovated mill house in Monroe, Georgia, we found ourselves with 20 years’ worth of stuff that we had no idea what to do with. Most of it is in storage units. Yes plural. Units. Three of them. And trying to figure out what is essential and what isn’t, was and still is, a huge challenge. I’ve had to put my organizational skills to the test and decorative storage containers have saved my sanity on more than one occasion. Cute little boxes and bins are great for hiding odds and ends that otherwise would make my little home look cluttered.
I have a tiny powder room in my hallway that has very little storage space. The sink vanity is narrow and holds hand towels and not much more.

I needed somewhere to store my toilet paper and I did not want the spare toilet paper rolls visible. While shopping at my little neighborhood grocery store, I found a stack of these wooden cheese boxes in the back by the meat department.

Low and behold they sell them for $1 and I snatched them up before the rest of the town could find out about them. This cheese box is the perfect size to hold the extra rolls of toilet paper in my little powder room. It just needs to look a little more rustic and I am going to show you how I created mine.
This project is quick and easy and can be modified to fit any decor. You can use any paint color or stain and use this stencil, a different stencil or no stencil at all. I wanted a dark stained piece, and I chose this stencil because I wanted to be able to use it in any area of the house if I decided I didn’t like it in the bathroom.

I chose a Red Mahogany wood stain for the box and a Dark Granite acrylic craft paint for the stencil.


I made the stencil with my Silhouette machine, but you can buy stencils or even hand paint the top if you wish. I lined my stencil up on the top of the box and went to work with my acrylic paint.


Once I removed the stencil, I had a little bit of hand painting to do because of the way my stencil was cut.


And now I can brag about it truly being a hand painted piece.
While I waited for the top to dry, I took my chip brush and stained the inside and outside of the bottom of the box.

These boxes soak up a lot of stain. It took almost the whole 8oz can and then took forever to dry. Once the stencil was dry, I stained the inside and outside of the top of the box.

The stain is darker than I thought and next time I would either go lighter on the stain or use a black acrylic paint on the stencil. Here is my finished piece and its new home. For now.


Follow me for more inspirational ideas on creative, upcycled storage and organization.
Very clever project. Your directions make it sound so easy! Looking forward to more DIY posts!